
Last updated November 4, 2026
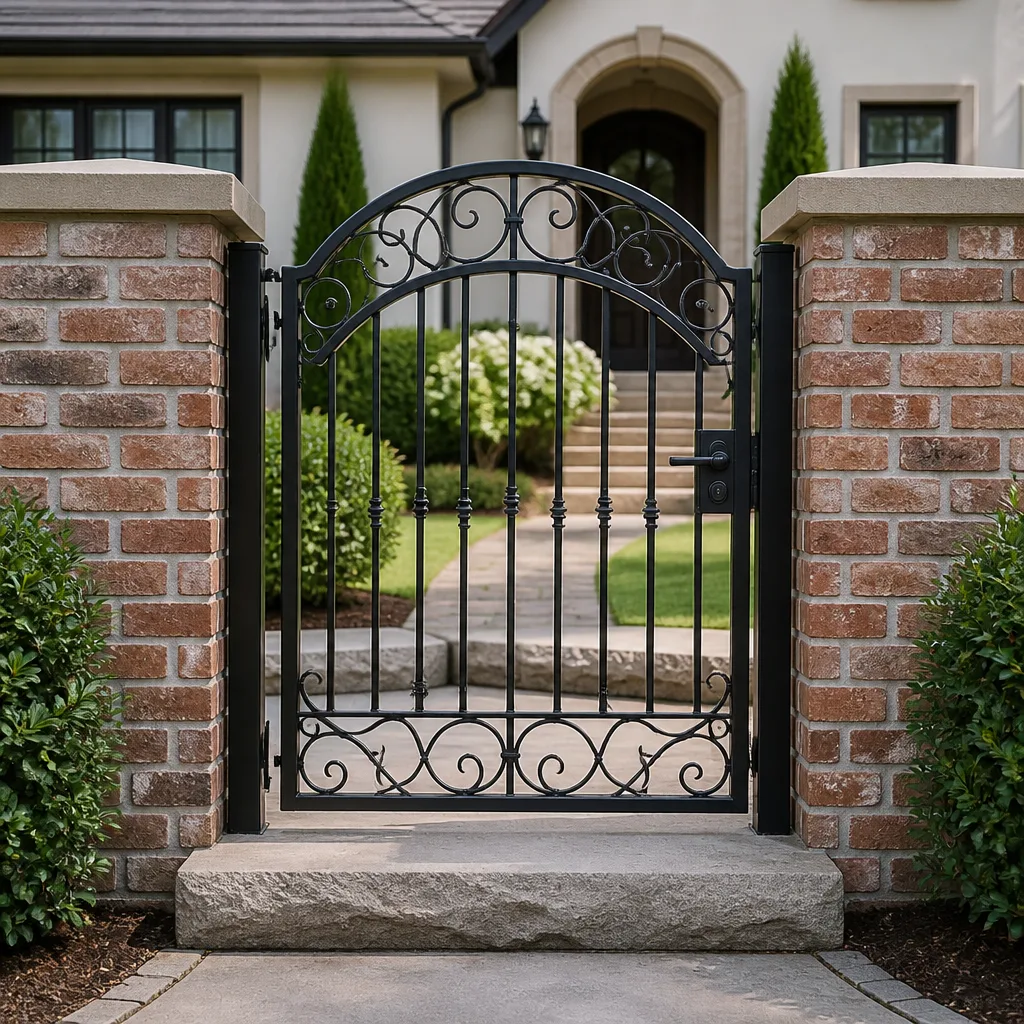 Wrought iron
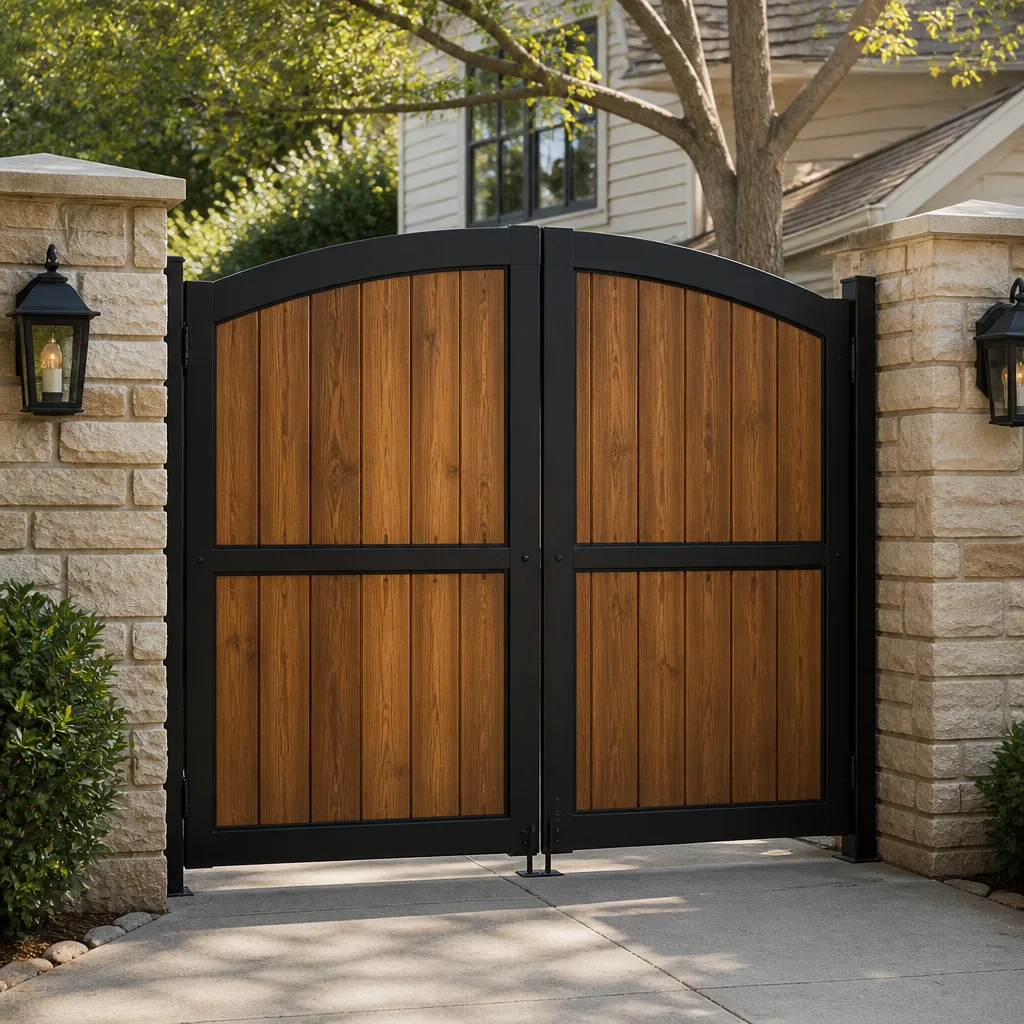 Wood & steel frame
 Farm & ranch
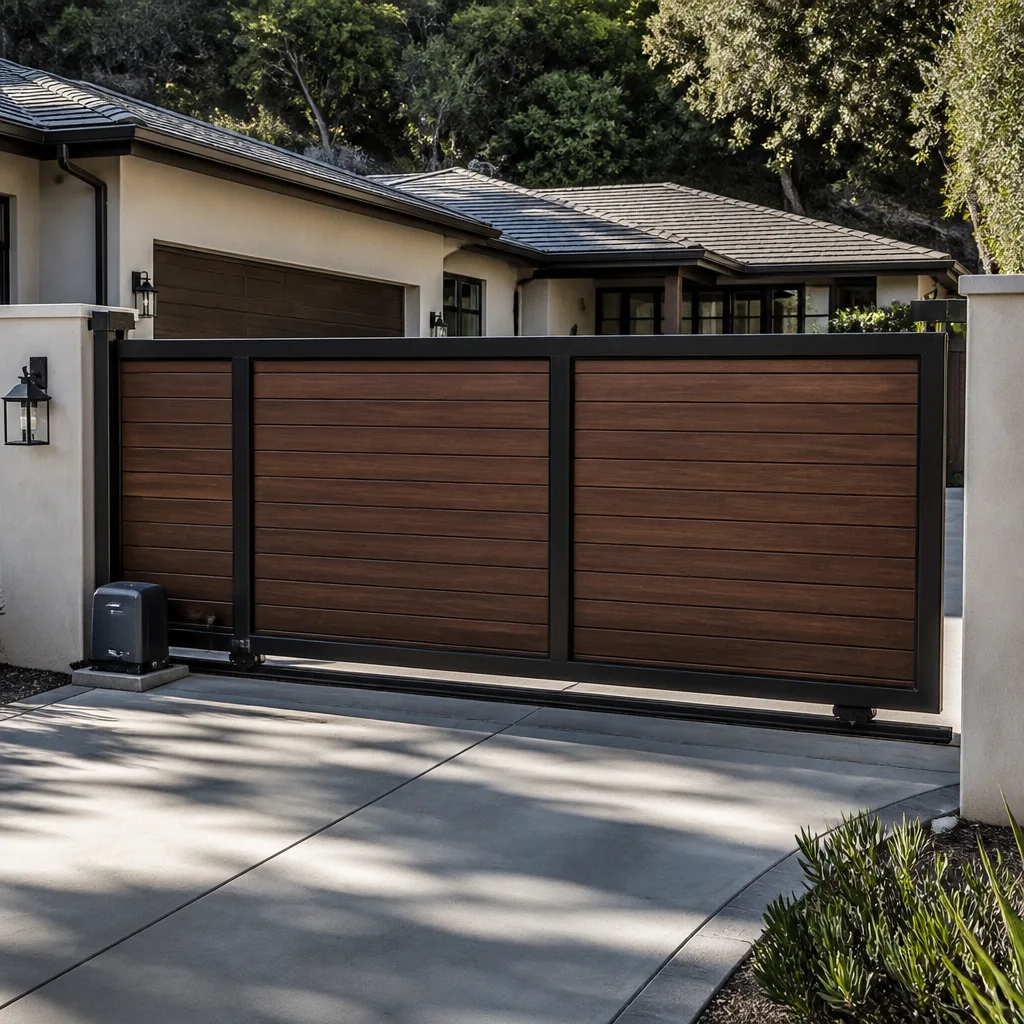 Sliding driveway gates
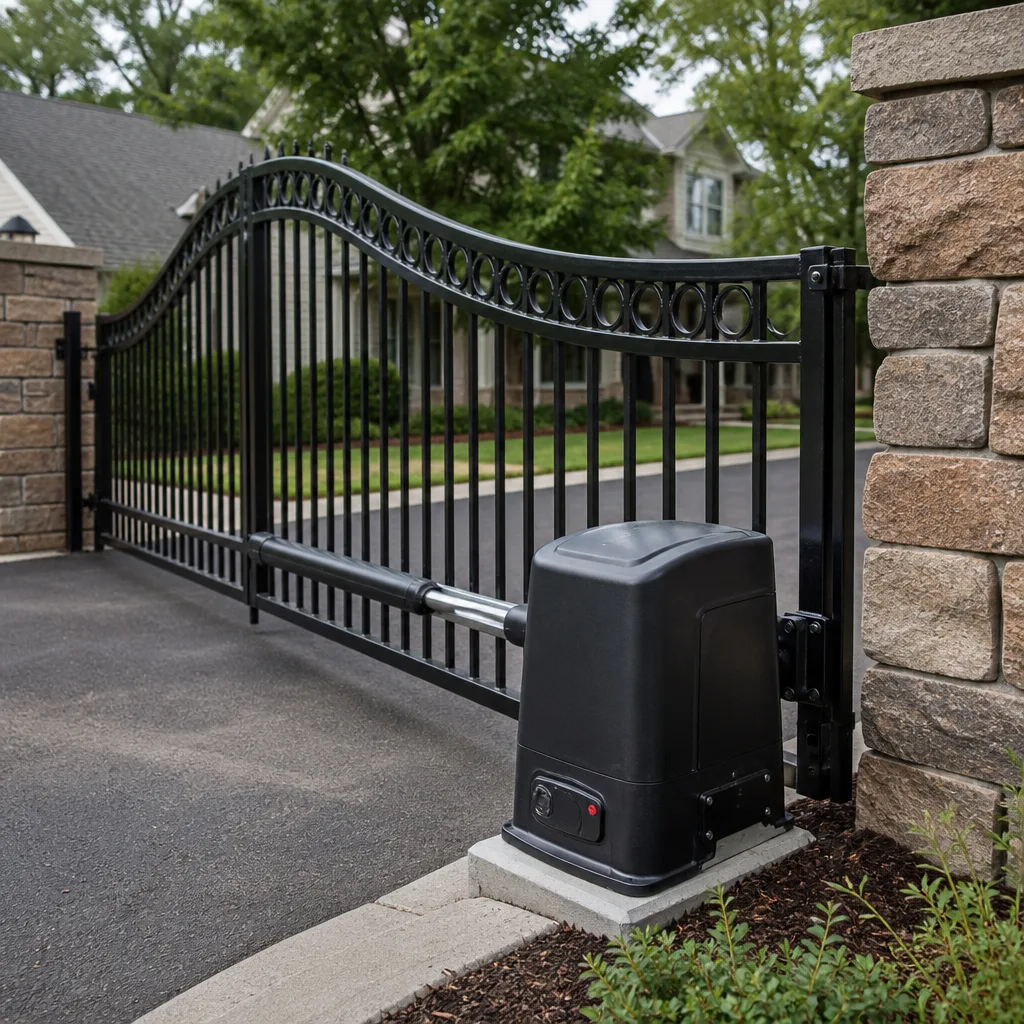 LiftMaster operators
Free on-site gate assessment - hinges, posts, and your LiftMaster or Nice gate operator checked before anything is quoted
The assessment is free and the quote is the invoice.
Get your free estimateGate Repair Warning Signs: A Carmichael Homeowner’s Reference Guide
A gate that hesitates for half a second before opening isn’t “working fine.” It’s telling you the operator is pulling 20% above its normal amp draw, which means a mechanical obstruction is slowly burning out the motor. Most gate failures in Carmichael don’t happen suddenly. They announce themselves weeks or months in advance through sounds, movements, and visual cues that homeowners overlook because the gate still opens and closes. This guide decodes those warning signs so you can catch a problem at the $150 repair stage instead of the $1,500 replacement stage.
Styles & brands we work with
- Wrought iron
- Wood & steel frame
- Farm & ranch
- Sliding driveway gates
- LiftMaster operators
Quick Answer
The most common gate repair warning signs in Carmichael include grinding or clicking sounds during operation, a gate that hesitates or moves slower than usual, visible sagging or misalignment, and warning lights or error codes on the opener. Any of these means the system is working harder than it should, and ignoring them typically turns a simple mechanical fix into a failed motor, control board, or structural repair. Catching these signs early saves money and keeps the gate from failing completely.
Table of Contents
- What Your Gate Is Telling You Through Sound
- Visual Warning Signs by Gate Material
- Behavioral Patterns: Motor vs. Control Board vs. Sensor
- How to Spot Misalignment Before It Derails the Gate
- The Signs Homeowners Ignore That Double the Repair Cost
- Wrought Iron, Wood, and Aluminum: What Each Material Hides
- What You Can Safely Check Yourself
- Common Mistakes to Avoid
- When to Call a Professional
- Frequently Asked Questions
- The Bottom Line
What Your Gate Is Telling You Through Sound
Sound is the earliest diagnostic tool you have. Gate systems in Carmichael make predictable noises when healthy and specific noises when something is wrong. Learning the difference means you can identify a failing component before it takes out the parts around it.
Grinding or scraping almost always points to a mechanical issue. The gate is dragging on its track, the rollers are worn, or the chain drive on a slide gate has lost tension and is rubbing against the guide. On a swing gate, grinding usually comes from a hinge that has lost lubrication or a wheel that no longer rolls freely. This is the warning sign that leads most directly to motor failure, because the operator has to push through the resistance every single cycle.
Clicking without movement is an electrical symptom, not a mechanical one. A relay clicks when the control board sends power to the motor but the motor does not respond. That narrows the problem to the motor capacitor, the motor itself, or a wiring connection between the board and the motor. Clicking is common on LiftMaster and DoorKing boards, and it is one of the easier problems to diagnose if you catch it before the board gets damaged from repeated attempts.
A low hum with no movement means the motor is getting power but cannot turn. The capacitor has failed, or the gate is physically jammed. If you hear humming, stop pressing the remote. Holding the button down sends current through a stalled motor, which generates heat and can burn out the windings. That is the difference between a capacitor replacement and a full operator replacement.
Silence means no power is reaching the operator or the control board is not sending a command. Check the breaker first. If the breaker is fine and the gate does not respond to any input, the board, the transformer, or a safety sensor is the likely failure point. Silence is actually the least informative sound a gate can make, which is why we walk through the power path from the outlet to the operator before replacing anything.
In Carmichael, the dry season contributes to one specific sound-related failure: dust. Gates that sit near unpaved driveways or open fields accumulate fine dust on the limit switches and safety sensor lenses, and the first symptom is often erratic clicking as the switch makes and breaks contact. Cleaning those contacts is a simple fix, but if you ignore it long enough, the arcing pits the contacts and the switch fails entirely.
Visual Warning Signs by Gate Material
Every gate material fails differently. Knowing what to look for on your specific gate lets you catch structural problems before the gate comes off its hinges or the post starts leaning.
Wrought iron gates hide their worst problems at the weld points. Look at every joint where a picket meets a rail, and where the gate frame attaches to the hinge. A hairline crack in the paint or a thin line of rust bleeding from a joint means the weld underneath has started to separate. On Carmichael homes with older wrought iron, these cracks appear first at the bottom hinge, where the full weight of the gate bears down every time it swings. Once a weld separates, the gate twists, and the twist adds stress to every other weld on the frame.
Wood gates show warning signs through their hardware before the wood itself fails. Look at the hinge screws. If the screws have pulled even a quarter inch out of the wood, or if the wood around the screw holes is soft or dark, the structure is letting go. A wood gate that has started to sag will also show a widening gap at the latch side at the top and a narrowing gap at the bottom, or the reverse depending on which hinge is failing. Carmichael’s hot, dry summers shrink wood gates, and when the wood shrinks around hardware, the next thing that happens is the hardware tears out.
Aluminum gates fail at the post and the drive connection more often than the gate panel itself. Aluminum is light and resists rust, but it flexes. Look at the post the gate hangs from. Any visible lean, even a few degrees, means the footing or the post itself has started to fail, and an aluminum gate on a leaning post will eventually bind at the latch. Check the bracket where the opener arm attaches to the gate. Repeated flexing cracks the aluminum around that bracket, and the crack usually shows as a spiderweb pattern in the powder coat.
We see these patterns constantly across Carmichael because so many homes here were built with original gates that are now 20 to 30 years old. The gate itself may look fine from across the yard, but the failure points are always at the joints, the hinges, and the attachments.
Behavioral Patterns: Motor vs. Control Board vs. Sensor
When a gate misbehaves, the pattern of the misbehavior tells you which component is responsible. Homeowners often replace the wrong part because they treat the motor, the board, and the sensors as interchangeable suspects. They are not.
The motor is the problem when the gate struggles uniformly. If the gate moves at the right speed but sounds strained the whole way, or if it starts fine and slows down halfway, the motor is fighting a load or losing torque. Motors also fail gradually: a gate that used to open in 12 seconds and now takes 15 is a motor losing power, not a board issue. That slow decline is the warning sign most people miss, because they adjust to the new speed and forget what normal felt like.
The control board is the problem when the gate behaves inconsistently. The gate opens but won’t close. It closes but won’t open. It works in the morning and not in the afternoon. Or it opens on its own at random times. A board controls the sequence, the timing, and the communication between inputs and the motor. Intermittent failures that do not correlate with temperature or load are almost always board-level. On a Doorking or Elite system, a board that is starting to fail often resets itself mid-cycle, which looks like the gate pausing for a beat before continuing.
The sensors are the problem when the gate reverses or refuses to close under specific conditions. If the gate closes fine in the morning but reverses in the afternoon, the photo eye is seeing something different, which usually means the sun angle is interfering, or the sensor has drifted out of alignment. If the gate refuses to close only when a car is parked near the sensor path, the loop detector has shifted sensitivity. Sensor problems are environmental and situational. They are consistent under the same conditions, which is how you tell them apart from a board that fails randomly.
One note specific to Carmichael: our afternoon sun hits west-facing gates at a low angle for a good part of the year, and photo eyes that worked fine in the morning can false-trigger in that direct light. If your gate reverses only in the afternoon, tilt the sensor slightly or shield it before you buy a new board. You may not need one.
How to Spot Misalignment Before It Derails the Gate
A gate that is out of alignment will eventually derail, strip a rack gear, or snap a hinge pin. The best time to catch it is before any of those happen. Here is a step-by-step check you can do in under five minutes:
- Stand at the hinge side of the gate and sight down the top rail. The top edge should be straight and level along its entire length. A bow, a dip at the latch end, or a visible twist means the gate has moved on its hinges or the post has shifted.
- Watch the gap between the gate and the post at the latch side. This gap should be even from top to bottom. If it is wider at the top, the gate is sagging. If it is wider at the bottom, the gate has risen, which usually means a hinge bushing is worn or the post is pulling away.
- For a slide gate, look at the gap between the gate and the track roller. The roller should contact the track evenly. If the gate rides up on one edge of the roller, the track is out of level or a wheel has worn flat.
- Open the gate halfway and let go. A properly aligned swing gate will stay where you leave it. If it drifts open or closed, the hinges are binding or the post is not plumb. A slide gate that rolls on its own has a track that is out of level and is putting side load on the drive chain.
- Listen during the full travel. A change in sound at a specific point in the travel, a bump, a scrape, a change in pitch, means the gate is hitting something at that point. That interference is what eventually strips gears or bends brackets.
If any of these checks fail, do not keep running the gate to see if it gets worse. Every cycle on a misaligned gate accelerates the wear on the operator, the hinges, and the track. A gate specialist can correct alignment issues at the hinge, the post, or the track before the damage spreads.
The Signs Homeowners Ignore That Double the Repair Cost
We have been working on gates in Carmichael since 2014, and the pattern is always the same. The gate says something is wrong, and the homeowner waits because the gate still functions. By the time we get the call, the $150 fix has turned into a $1,200 operator and rack replacement. Here are the signs that get ignored most often:
- The gate hesitates for a beat before moving. This is the single most ignored warning sign. That hesitation is the board or motor struggling against something, and the “something” is usually a mechanical bind. The hesitation is not a quirk. It is the system telling you the load is too high.
- The remote works from shorter and shorter distances. The range shrinks because the receiver antenna is failing or the board is losing sensitivity. The gate still opens when you are close enough, so nobody calls. Then one day it does not open at all.
- The gate is noisier than it used to be. A gate that has always been quiet and is now grinding or whining has developed a lubrication failure, a bearing failure, or a mechanical interference. A noisy gate is working harder, and a motor that works harder dies sooner.
- The gate closes too hard or bounces at the stop. The limit switch is failing, or the board has lost its limit settings. The gate is over-traveling and slamming into the stop, which hammers the rack gear, the hinges, and the motor mount every single cycle.
- A small error code blinks on the board, and the gate still runs. Boards blink codes that mean “photo eye misaligned,” “battery low,” “limit switch fault.” The gate keeps working, so the code gets ignored. The problem that code is flagging does not go away just because the gate still moves.
Here is the truth about gate repair costs: a failed component takes out its neighbors. A worn limit switch burns out a motor. A misaligned photo eye strips a rack gear. A sagging gate destroys a hinge, then twists the frame, then cracks the weld on the post bracket. The earlier you act, the fewer parts you replace.
Wrought Iron, Wood, and Aluminum: What Each Material Hides
We covered the visual signs earlier, but there is a second layer to what gates hide: fatigue at the connection to the opener. This is the part most homeowners never think about, and it fails differently depending on the gate material.
Wrought iron transfers vibration from the opener directly into the welds. An opener arm bolted to an iron gate vibrates at the frame joints every time the gate stops. The welds at the top and bottom of the frame are the first to crack, and the cracks are invisible under the paint until the joint separates. The warning sign is a gate that “rings” or resonates when it stops, something you can feel through the ground as much as hear.
Wood gates fail at the fastener holes before the wood shows any visible rot or split. The opener arm creates a twisting force at its attachment point, and wood cannot resist twist the way steel does. The hole elongates, the screw leads, and the opener arm starts to wobble. The wobble is the warning sign. If you can see the arm shaking slightly at the end of the travel, the attachment has already started to fail.
Aluminum gates fatigue at the bracket and at the hinge leaf. Aluminum has no fatigue limit, which means it weakens every time it flexes, even slightly. The opener arm bracket on an aluminum gate is the most common failure point we see on newer Carmichael installations, because the bracket flexes with every cycle and the aluminum finally cracks around the bolts. The warning sign is a clicking or popping sound at the bracket when the gate stops or reverses.
These failure modes are why a gate specialist thinks in terms of the entire load path: motor to board to arm to gate to hinge to post. A problem anywhere in that chain shows up as wear everywhere else. Fixing the symptom without finding the source just moves the failure to the next link in the chain.
What You Can Safely Check Yourself
You do not need to be a technician to catch most gate problems early. And you should not open the operator housing or touch the wiring unless you know what you are doing. Here is what we tell Carmichael homeowners to check on their own:
- Look at the gate posts. Stand back and sight the posts from top to bottom. Any lean, any crack at the base, any rust staining around the hinges means the structure is shifting.
- Run the gate and listen. You are listening for anything that is not the normal sound. Grinding, clicking, popping, or a change in pitch at a specific point in the travel are all meaningful. The trick is to pay attention every few weeks, not just when something feels obviously wrong.
- Check the safety sensors. Look at the photo eyes. They should point directly at each other, and the lenses should be clean. If one is tilted, or if a shrub has grown up in front of it, the gate will behave erratically for a reason that has nothing to do with the motor.
- Watch the opener arm. Run the gate and watch where the arm attaches. A wobble, a shimmy, or a visible flex at the bracket is an early warning. This is the part of the system that fails on almost every gate eventually.
- Note any change in remote range or responsiveness. If you need to be closer to the gate than you used to be, or you have to press the button twice, write that down. It is a data point, not a coincidence.
If you find something that is not right, do not try to correct a structural problem yourself. A gate under tension, especially a slide gate that has come off its track, can move unpredictably and weigh several hundred pounds. The alignment check is safe. The repair is not.
Common Mistakes to Avoid
- Lubricating a noisy gate without finding the cause. Lubricant quiets a squeak, but it does not fix a worn bearing or a misaligned track. All you do is buy time while the mechanical problem gets worse and the load on the motor climbs. Find the cause of the noise before you reach for the spray can.
- Replacing the remote batteries when the gate is losing range. That fixes the problem only if the remote was the problem. If the receiver or board is the issue, new batteries do nothing except delay the real diagnosis. Change the batteries once. If that does not fix the range, the receiver is the next suspect.
- Adjusting the limit switches to “get a little more travel.” Limit switches stop the gate at the correct point in its travel. Moving them to compensate for a sagging gate or a slipping chain just means the gate over-travels and slams into its stop harder, which makes every other problem worse.
- Ignoring an intermittent problem because the gate works most of the time. Intermittent failures are the hardest to diagnose if you wait until the gate is fully dead. An intermittent problem is easier to trace while it is still happening occasionally, not after the component has failed completely and taken other parts with it.
- Propping the gate open with a chain or strap when the opener fails. A gate that is tied open is not secured, and for many Carmichael homeowners the gate is the primary access point to the backyard. More importantly, a swing gate that is not supported by its opener can drift, and a gate that drifts can pinch or fall. If the opener is down, address the repair, do not improvise a long-term fix.
- Replacing the motor when the board is the real problem, or the board when the motor is. This is the most expensive mistake. A clicking relay is not a motor problem. A gate that will not hold its position is not a board problem it is a limit switch or a brake. Misdiagnosis costs you the part you did not need plus the part that was actually failing. That is where a gate specialist with multi-brand experience pays for itself.
When to Call a Professional
Some problems are obvious enough to catch yourself, but there is a line where continuing to troubleshoot on your own stops being useful and starts being expensive. Call a professional when the gate will not respond at all, when you hear clicking or humming that is not explained by a tripped breaker, when the gate has come off its track or the post is visibly leaning, or when the safety sensors will not clear no matter how you clean or adjust them. In our experience, the worst cases are the gate that was limping along for months while the owner pressed the remote harder and hoped. That gate costs more to repair than the one that failed completely and got fixed the same week. Gate Repair Carmichael offers free estimates in Carmichael, call (877) 752-3866. We answer 24/7. Fast dispatch from 7am to 7pm, Sunday through Friday.
For anything beyond a visual check, leave the internals to someone who works on gates every day. The operator housing contains line voltage, and a motor capacitor holds a charge even after the power is off. The diagnosis is the hard part. The repair is straightforward once you know what failed. Our electric gate repair service covers the full range of automated gate systems, from opener motors to control boards to photo eyes and loop detectors.
Frequently Asked Questions
The first signs are usually a hesitation before the gate starts moving, a slower-than-normal travel speed, or a clicking sound from the operator when you press the remote. Any of these means the operator is working harder than it should, and the cause is usually mechanical resistance, a failing capacitor, or a control board issue. If you notice the gate hesitating, call for a diagnosis before the motor burns out. Call (877) 752-3866 for a free estimate. We answer 24/7. Fast dispatch from 7am to 7pm, Sunday through Friday.
Gate repair costs in Carmichael vary by the failed component and the brand of operator. Minor fixes like a limit switch adjustment or a photo eye realignment typically cost less than a motor or control board replacement, but the written estimate is what sets the final price. The earlier you catch the problem, the fewer parts you replace, and that is what keeps the cost down. Call (877) 752-3866 for an exact quote, estimates are free.
A clicking gate usually means the control board is sending power to the motor but the motor is not responding, which points to the motor capacitor, the motor itself, or a wiring fault between the board and the motor. This is common on LiftMaster and DoorKing operators, and it is a symptom that gets worse every time you press the remote. Stop pressing the button once you hear the click, because repeated attempts can damage the board.
We work on all major gate and operator brands, including LiftMaster, DoorKing, Elite, and Mighty Mule. The diagnostic approach is brand-agnostic, so the recommendation is based on what is wrong with your gate, not on what we happen to stock. Whatever opener you have, we know it. If you are not sure what brand your system is, take a photo of the operator housing before you call and we will identify it from the photo.
A sagging gate is dangerous because it puts load on the hinges and the opener that the system was not designed to carry. The sag itself is a sign that the gate has moved on its hinges or the post has shifted, and every cycle makes the problem worse. A gate that sags is also more likely to pinch at the hinges or come off its track. Do not ignore a sagging gate, and do not prop it up with shims, address the alignment before the structural damage spreads.
Yes, estimates are free, and the price is quoted and agreed before any work starts. We serve the entire Carmichael area with gate repair and installation services. Call (877) 752-3866 to schedule an on-site estimate. We answer 24/7. Fast dispatch from 7am to 7pm, Sunday through Friday.
The Bottom Line
Your gate is not a mystery. It tells you what is wrong through sound, motion, and the wear patterns you can see if you know where to look. The hesitation before movement, the grind at the hinge, the drift when you let go, and the clicking that means the motor is not answering are all data. The trick is to act on the data while the repair is still small. From the motor to the hinge, every component in a gate system wears at a predictable rate, and every warning sign points to a specific failure before it happens. If your gate is showing any of the signs in this guide, or if you just want a professional opinion on what you are seeing, call Gate Repair Carmichael at (877) 752-3866 for a free estimate. We will tell you what is wrong, what it costs to fix, and what you can safely put off, and we will not sell you a replacement that you do not need.
Written by the team at Gate Repair Carmichael, serving Carmichael since 2014.
See the difference
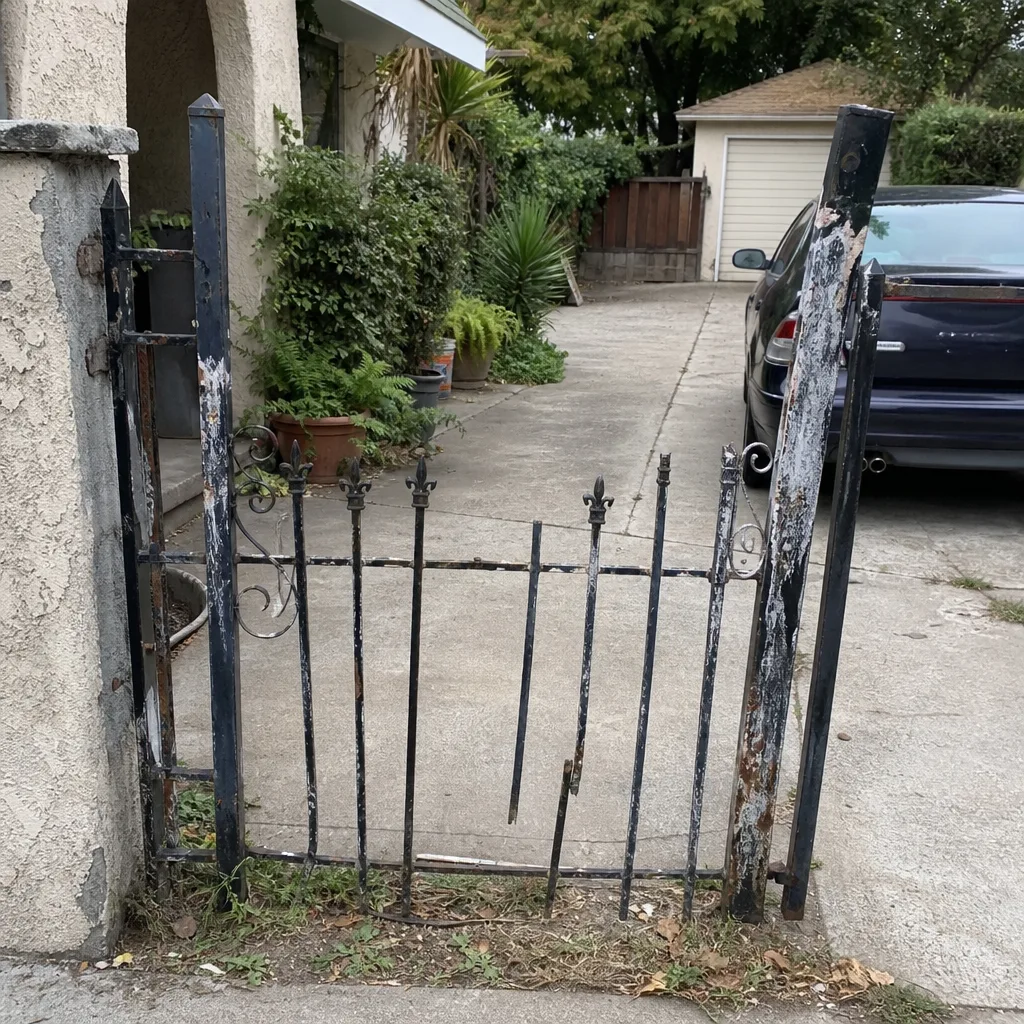 Before
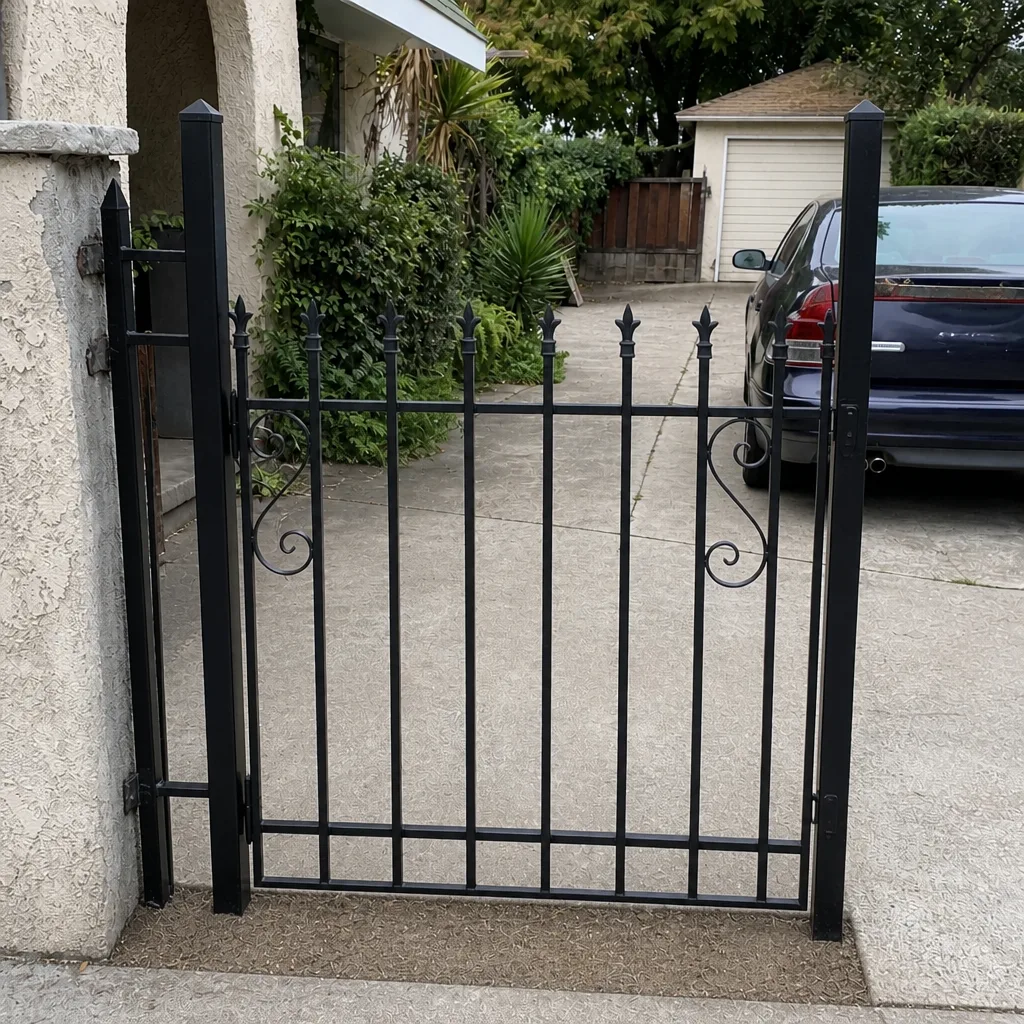 After
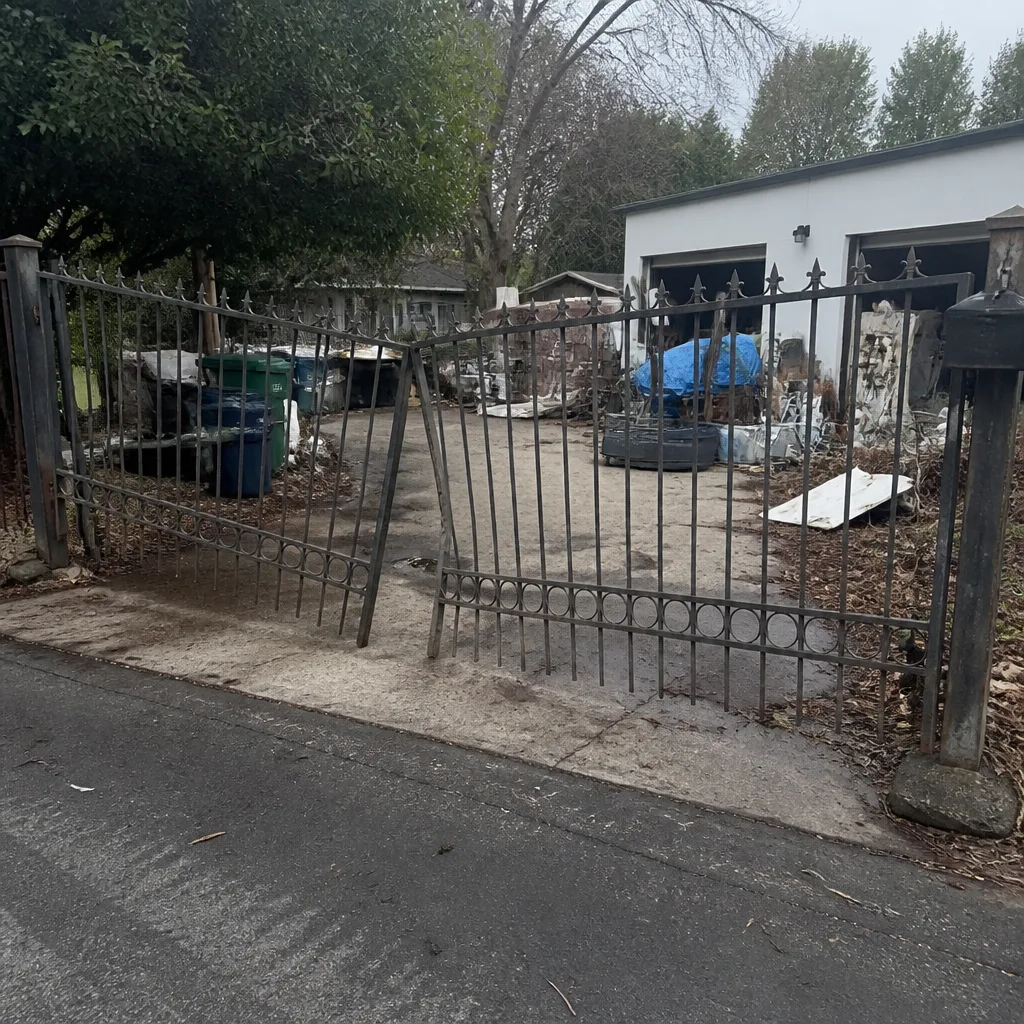 Before
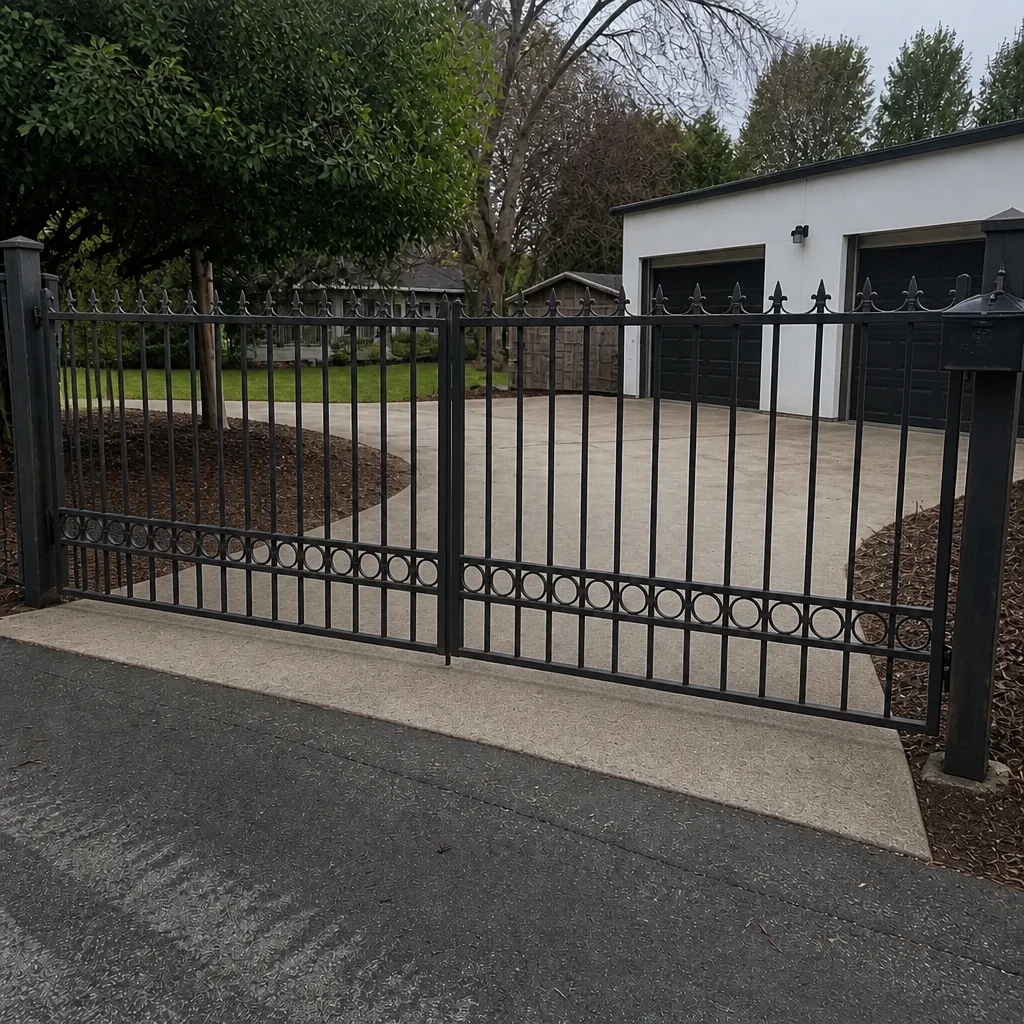 After
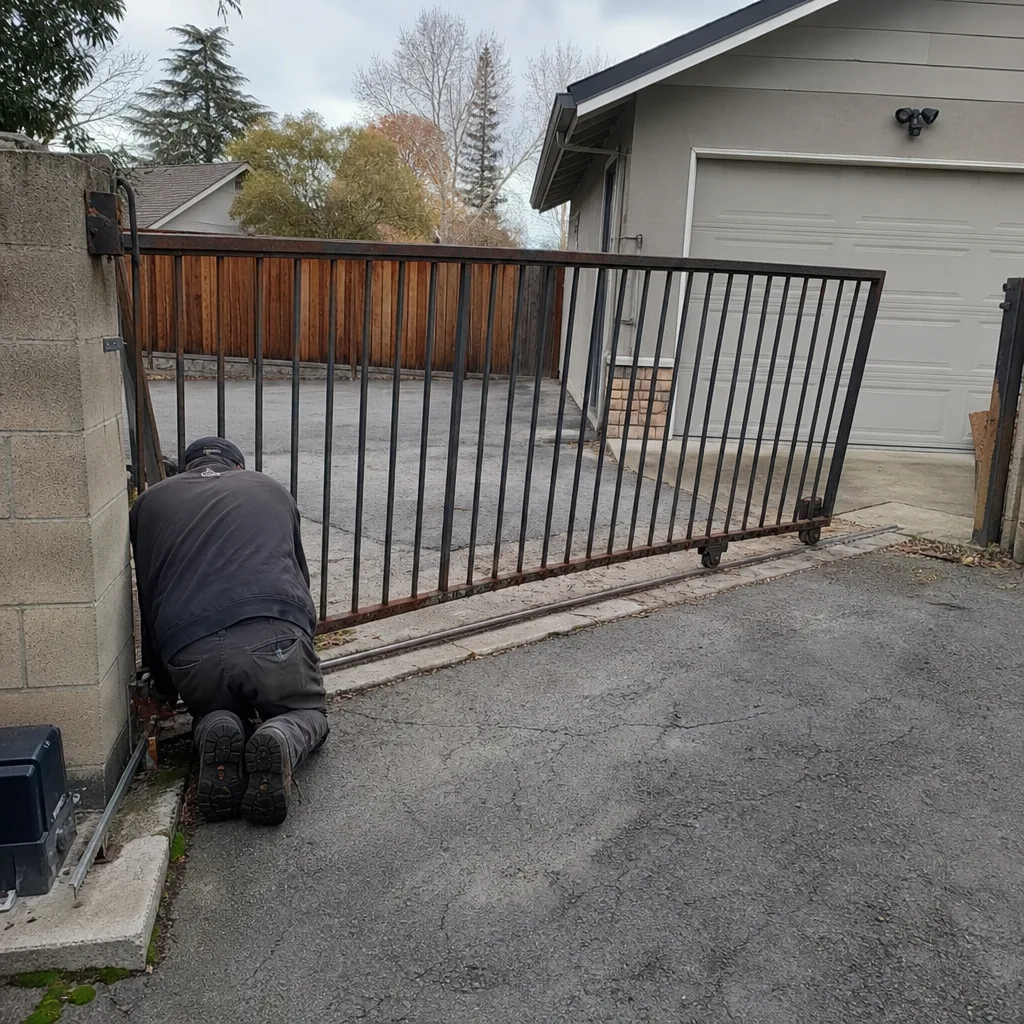 Before
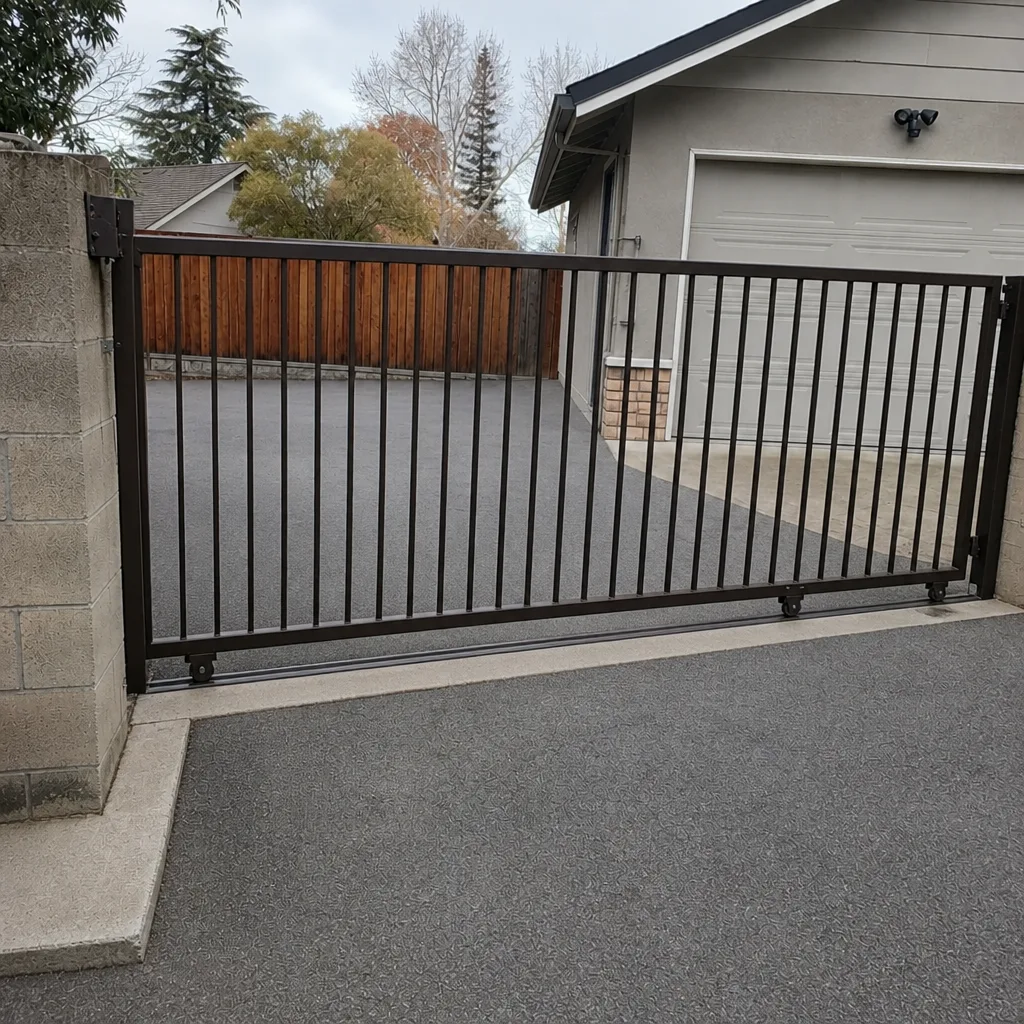 After